
Excavator bucket teeth are essential components that determine the efficiency and productivity of digging operations. Over time, these teeth wear out due to constant exposure to tough soil, rock, and debris. Replacing worn bucket teeth not only improves digging performance but also extends the lifespan of your bucket. In this article, we’ll walk you through how to change excavator bucket teeth and highlight how SENDEMACH’s 1–4 ton mini excavators make this maintenance task even more convenient.
Why Changing Bucket Teeth Matters
Worn bucket teeth reduce digging power, increase fuel consumption, and put unnecessary strain on your machine. Timely replacement ensures:
- Better penetration into the ground
- Reduced wear on the bucket lip
- Improved overall efficiency and safety
Whether you’re working in landscaping, trenching, or utility projects, regular maintenance is key—especially for compact machines like SENDEMACH mini excavators, designed for agility and performance in tight job sites.
Tools You’ll Need
Before starting, gather the following tools:
- Replacement bucket teeth
- Pin removal tool or punch
- Hammer or mallet
- Safety gloves and goggles
- Grease or anti-seize compound
Step-by-Step: How to Change Excavator Bucket Teeth
Step 1: Safety First
Park the excavator on level ground, lower the bucket, and turn off the engine. Always wear safety gloves and eye protection when working with heavy equipment.
Step 2: Remove Old Teeth
Use a hammer and punch to drive out the pin securing each tooth. Some teeth have a locking pin system that may require a specific tool or key. Remove the worn teeth by sliding them off the adapter.
Step 3: Clean the Adapters
Once the old teeth are removed, clean the adapters thoroughly. Remove any dirt or debris that may affect the fit of the new teeth.
Step 4: Install New Teeth
Slide the new teeth onto the adapters and align them correctly. Insert the pin through the hole and secure it in place by hammering it gently or locking it according to the system used.
Step 5: Lubricate and Test
Apply a small amount of grease to prevent rust and ease future removal. Restart the machine and perform a test dig to ensure everything is fitted correctly.
Why Choose SENDEMACH Mini Excavators?
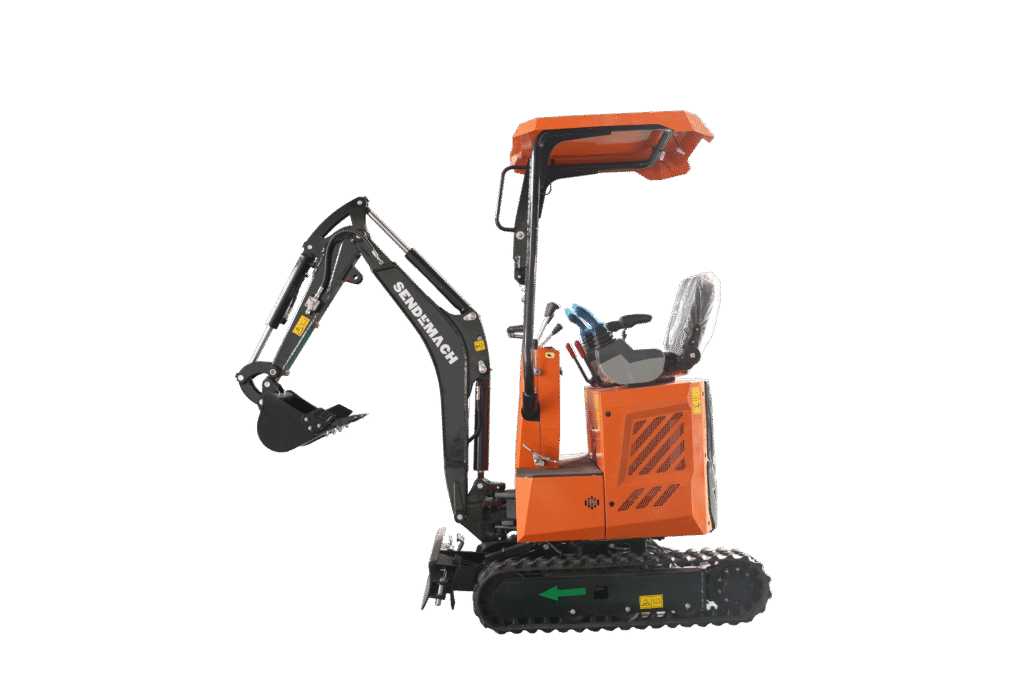
If you operate in residential or small-scale commercial environments, our SENDEMACH 1–4 ton mini excavators are engineered for easy handling, low maintenance, and superior performance. Changing bucket teeth on SENDEMACH machines is fast and simple, thanks to:
- User-friendly bucket design
- High compatibility with common teeth systems
- Durable, easily accessible components
Whether you need a 1-ton micro excavator for backyard work or a powerful 4-ton machine for trenching and foundation digging, SENDEMACH offers the right model for you—with excellent hydraulic power, smooth control, and cost-effective operation.
Final Tips
- Inspect teeth regularly for signs of wear or damage.
- Keep a set of replacement teeth on hand to minimize downtime.
- Use high-quality teeth that match your application and soil conditions.
By maintaining your excavator bucket teeth properly, you’ll extend the life of your equipment and increase job site productivity. And with a reliable machine like the SENDEMACH mini excavator, maintenance becomes a seamless part of your workflow.
Interested in upgrading your mini excavator fleet?
Contact us to learn more about SENDEMACH’s full range of 1–4 ton mini excavators, built for performance, efficiency, and ease of maintenance.